


Wood wall panels bring a richness and warmth to any room. Reclaimed wood panels bring character and history to the room, as well.
If you’re looking for a way to add some interest and life to a room of your home, installing reclaimed wood wall panels is a fantastic idea. Best of all, the panels are easy to DIY, which means that you can transform your home in a matter of hours.
Measure and Prepare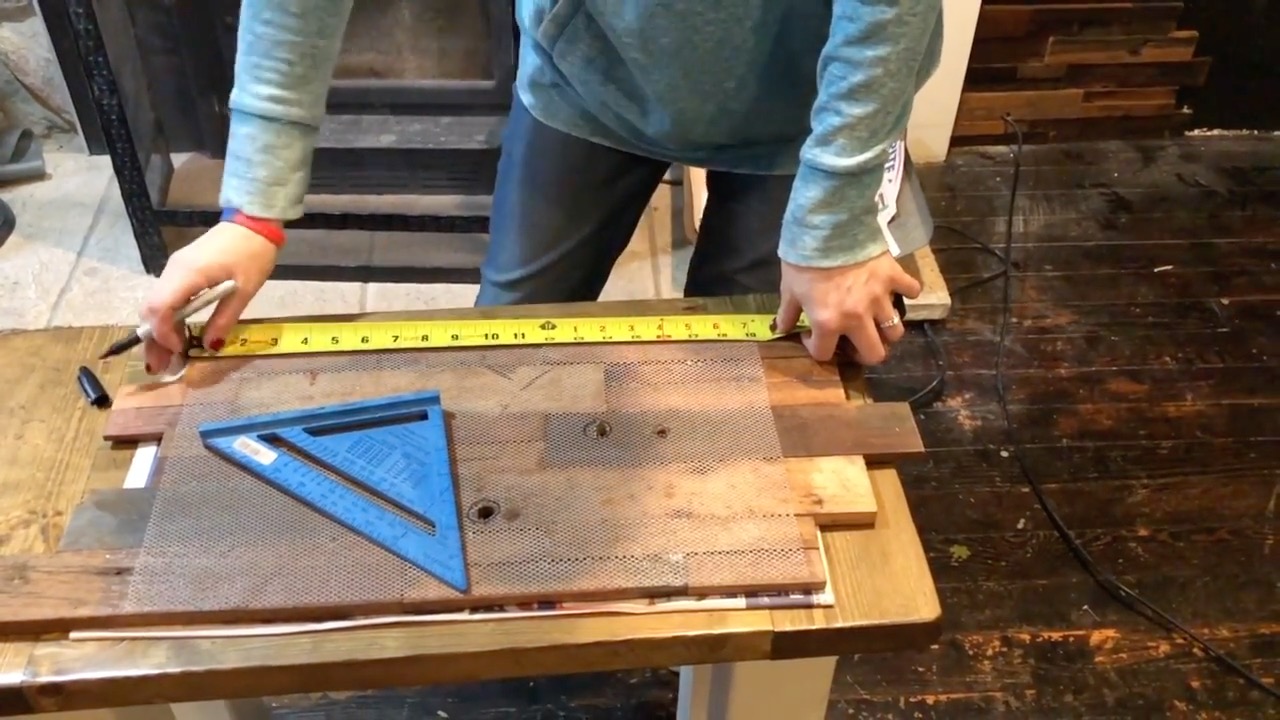
Reclaimed wood wall panels are perfect for installing on any interior wall of your home. Make sure that you have enough material to cover each wall by taking measurements before you begin.
Measure both the height and the width of each wall you intend to install on. Take the measurements in inches, multiply them together, and divide by 144 to get the total number of square feet per wall. Round up and add an additional 10% to each wall for cuts or mistakes.
Prior to installation it is very important to acclimate your wood for a few days before installing. Wood is a porous substance that can react to temperature and the moisture in the air, swelling or shrinking accordingly.
A few days before you install, take the wood into the room where it will be put up. Unbox and unwrap it and allow it to adjust to the temperature and moisture of the room. This will prevent excessive swelling or shrinking after it has been installed.
Prepare your walls to receive the panels by painting them black or another dark color. This will ensure that the color showing through the knot holes blends in with the rest of the installation.
Layout and Fit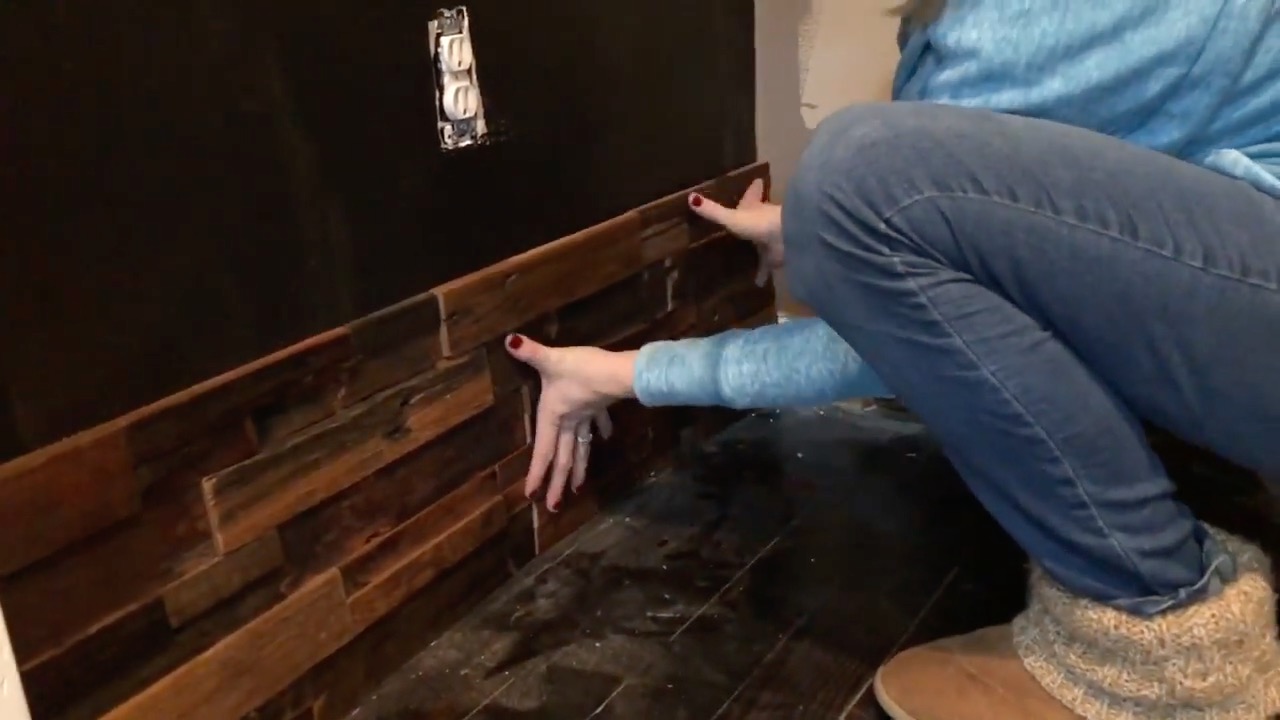
Make Sure to carefully examine the pieces prior to installation for the prefered blend of colors as reclaimed wood can have a lot of variation.Your wall panels are designed to interlock with one another for seamless installation. Begin by cutting a panel in half so you now have two pieces with a straight edge for an outside edge. Begin laying out the panels. Cut out any areas necessary to allow for outlets.
The back of each panel is covered in mesh. Cut away this mesh behind each knot hole, so it won’t show through after installation.
Install the Panels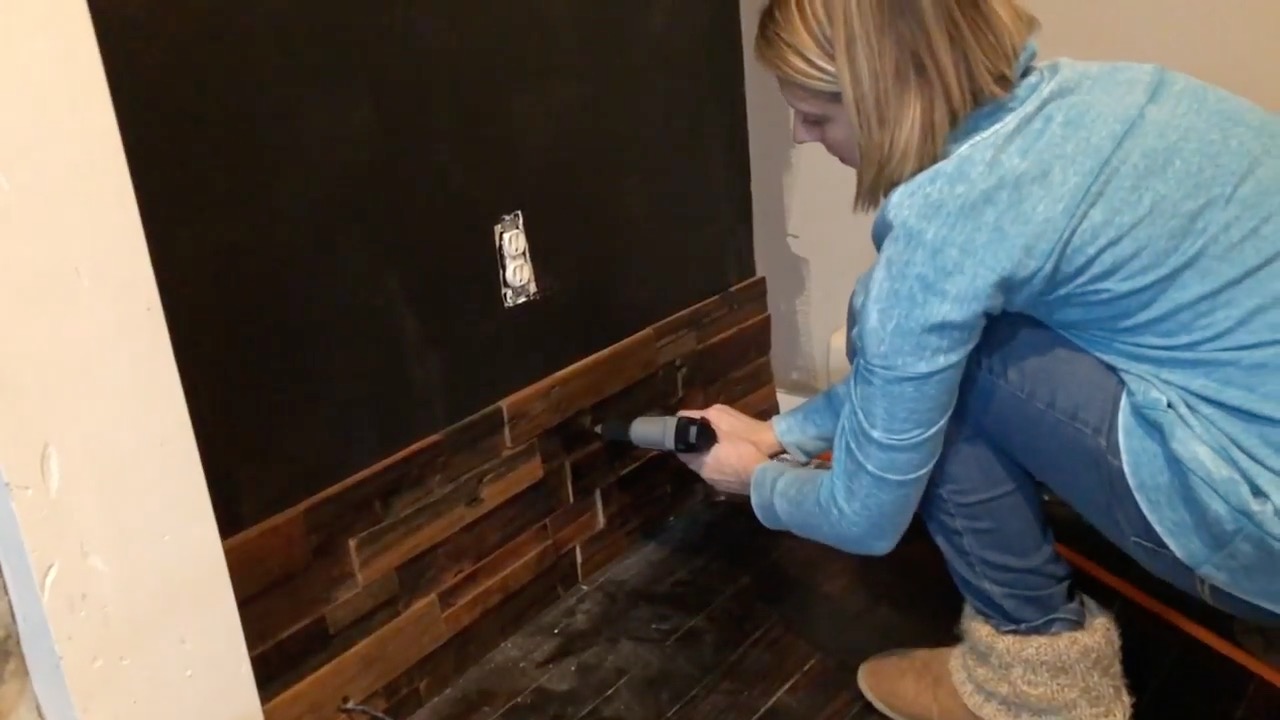
Cover the backs of the panels with a bead of silicone adhesive. Make sure each piece of wood has adhesive on the back. Press the panel firmly against the wall. Install from the bottom up occasionally checking to make sure the panels are level. Make sure to choose the best construction level for your particular project.
After each panel has been pressed into place on the wall and you are sure of its placement, nail the panel securely into place. A nail gun can assist with this task, but you may also use a hammer if necessary.
Tips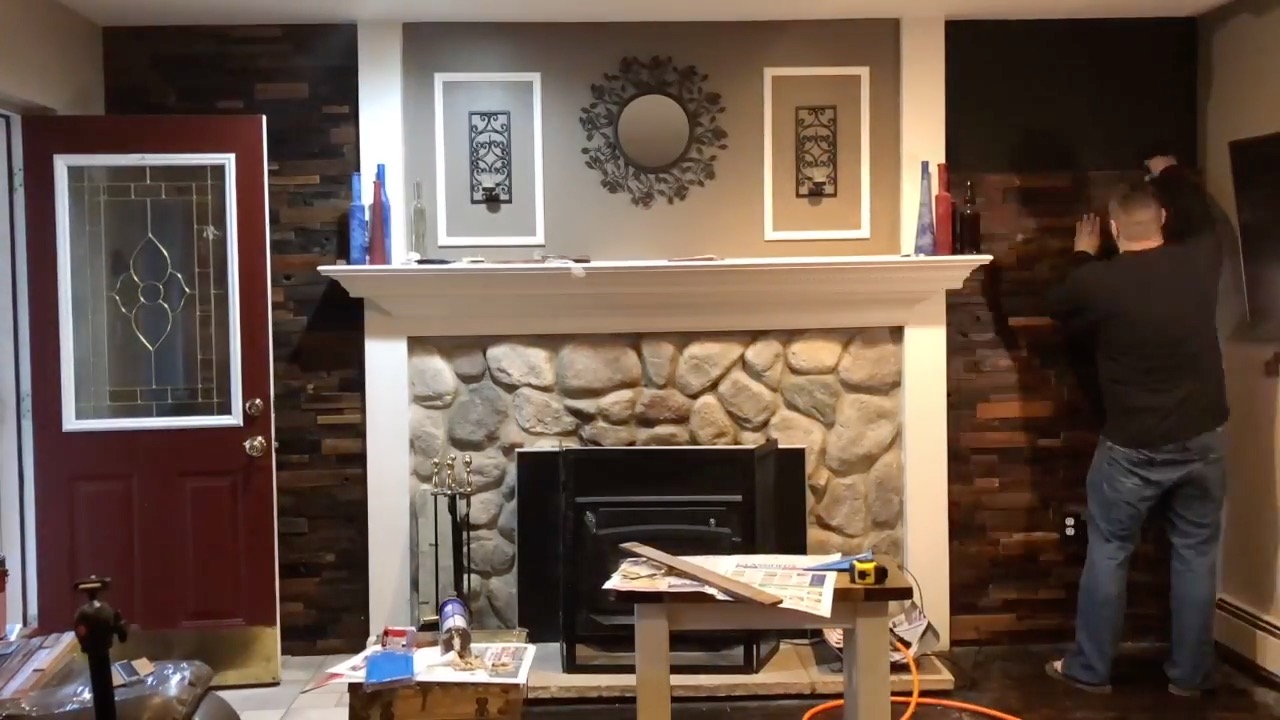
After you cut a panel in half, both parts can be utilized, simply rotate the piece and use it to begin the next course on the wall. This saves waste and time as you only need to make one cut, rather than two.
Consider the color of your décor as you choose which color of reclaimed wood you want. Lighter wood has warmer tones that may work better with brighter décor, while dark wood has a richer look.
Install Your Own Wood Panels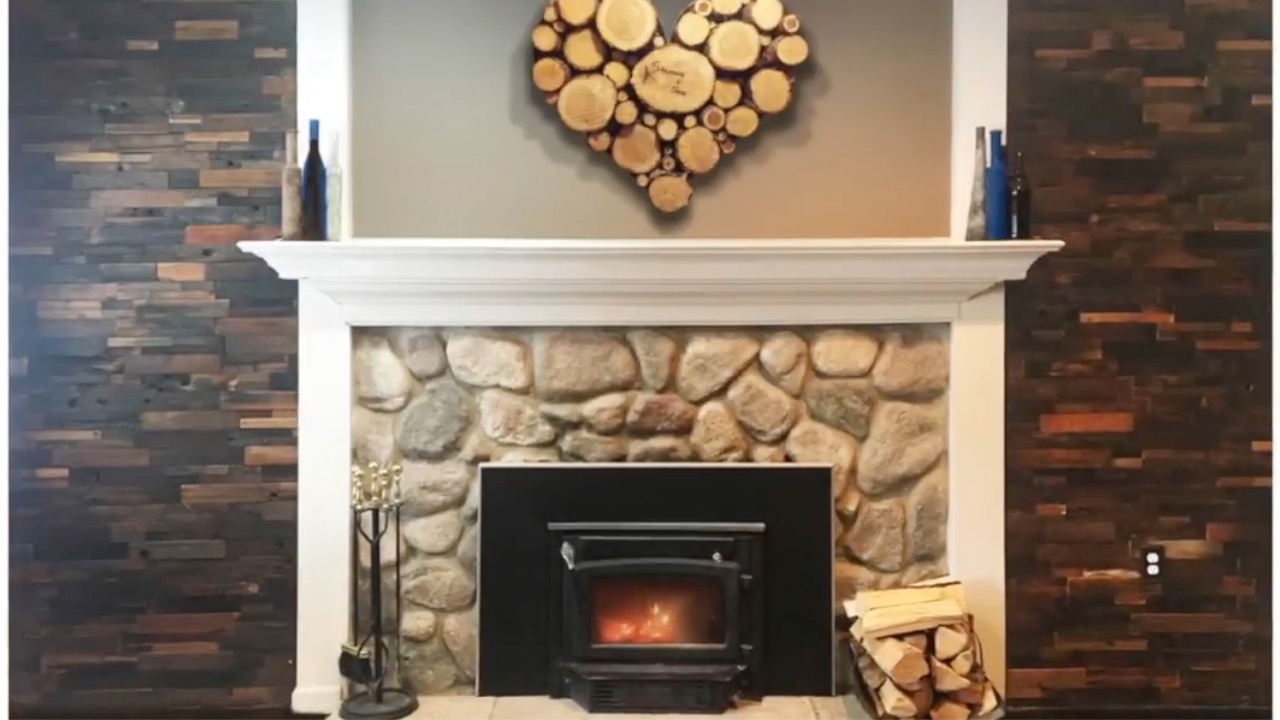
Installing your own reclaimed wood panels yourself is easy. Within hours, you can transform the walls of any room of your home, making an accent and statement anywhere you choose. Follow these steps for perfect results every time and enjoy the fruits of your labor.
Check out the video on YouTube to watch the process of installing reclaimed wood wall panels step by step.


