


Kitchen backsplashes are one of the easiest installations to DIY. They rarely exceed 30 square feet in size, don’t need vapor barriers, and can handle nearly any type of material.
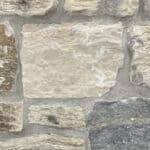
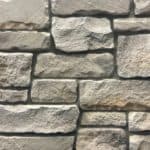
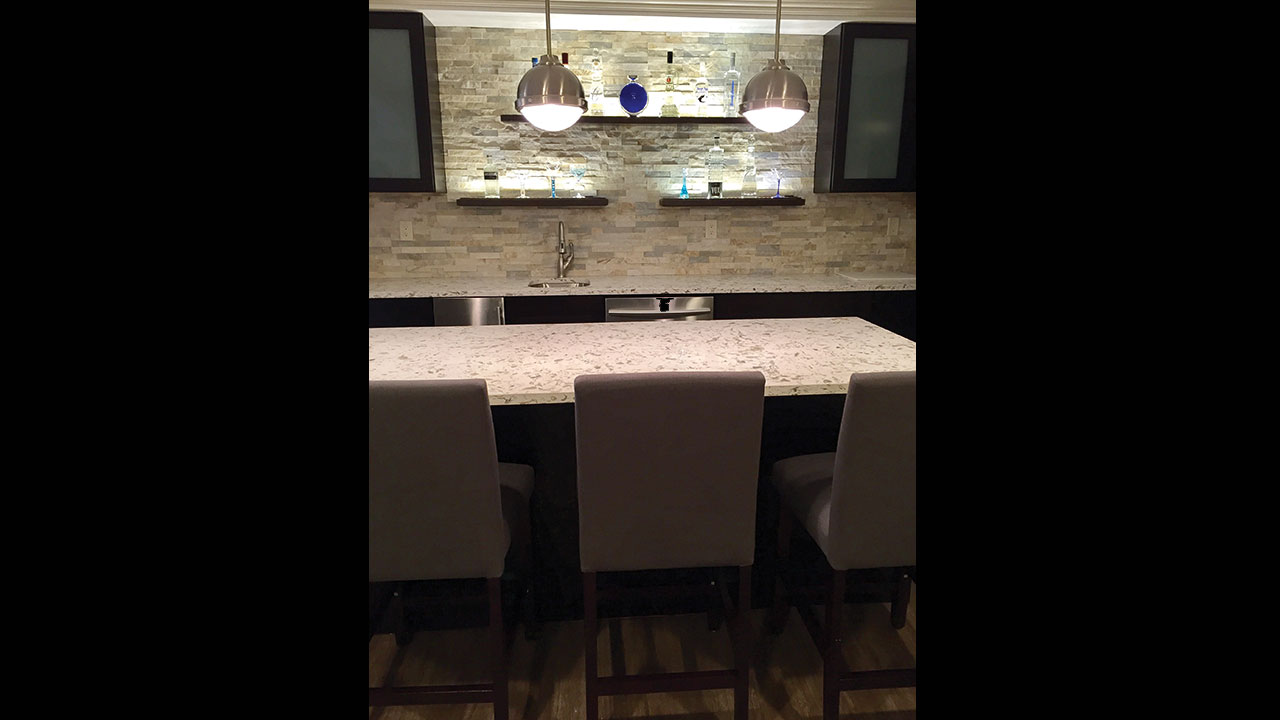
Natural stone veneer is a great material for this area. Lightweight, easy to install, and without the maintenance associated with other types of stone, even the most novice installer can tackle this project.
In many ways, stone veneer installs like tile or loose natural stone. In other ways, it’s easier, with a panelized system dry stack system, no grout is required and the installation goes up very fast. To make sure your backsplash installation goes perfectly, make sure you consider these three things first.
The Substrate
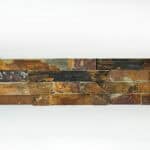
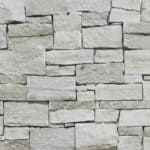
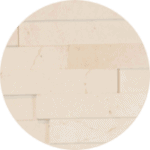
 -Silver Alabaster Ledgestone Panels
In most cases, your current backsplash area is likely made of drywall. While this is a suitable material for paint and some kinds of tile, it isn’t appropriate for the installation of stone veneer.
Stone veneer can be installed over an existing brick wall or cement block. If your existing wall is drywall, you will want to replace it with cement backer board using these steps:
First, cut the old drywall out of the backsplash area using a sharp utility knife. Because it likely extends beneath your cabinets, cut along the edges of your cabinets and remove. Score and snap the cement backer board to fit and screw it directly to the studs of your backsplash. There is no need to tape or skim coat the backer board before you install your veneer.
Measure and Dry Fit
Most people assume that taking the time to measure for the project is enough but for smaller areas like the backsplash, a dry fit is the best way to ensure a smooth installation.
A dry fit is a layout of tiles or panels in an area of identical shape and size to the area you are installing on. This ensures that you can make any necessary cuts and work around your outlets ahead of time. It can also ensure you are able to work out any potential issues before you have mortar drying on the wall.
To create a dry fit, measure your backsplash and mark off an identical area on the ground nearby. Use painter’s tape and mark the location of each outlet and switch as well. Now fit the stone veneer into the area marked, making your cuts as necessary for a perfect fit.
Aside from a proper fit, the dry layout allows you to ensure an ideal blend of colors. Since natural stone can have a lot of variation in color and veining, selecting the pieces you like best to be placed in the most visible areas is a very good idea. This will create a more pleasing appearance and ensure an even distribution of color.
Taking the extra time to dry lay your installation will be well worth the time for a project you will love for years to come.
Install from the Middle, Up, and Out
When it’s time to find the perfect spot to begin tiling, don’t assume that the best space is on one end. Because your walls may be of differing lengths and you may have focal points, moldings, appliances, and windows to contend with, it’s always best to measure the length of each wall and find its center. Mark the center line vertically. Install your first tile at the bottom of the backsplash, with this mark dividing it top to bottom.
Now, move outward from this point from side to side and up the wall. You’ll get a perfectly balanced installation each time, which is particularly important if you are installing with a pattern.
Create the Perfect Backsplash
Stone veneer backsplashes enhance any kitchen you install them in. Installation is easy, as long as you take the time to consider your substrate, dry-lay your installation, and install using best practices.
Create a quality backsplash with Realstone Systems stone veneer and enjoy the results for years to come.

